
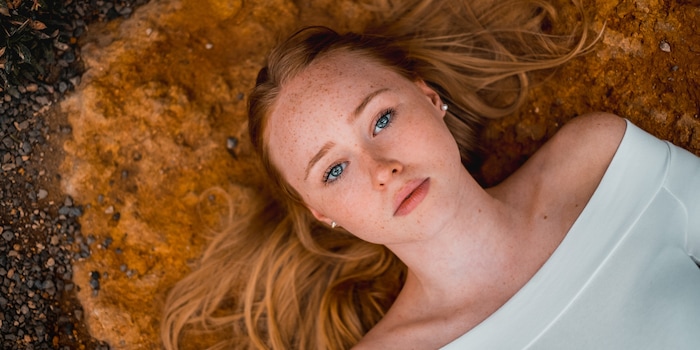
Seven tips for better photo portraits
There are plenty of tips on how to take a portrait, but which are the most important? Here are seven things you should never forget when taking someone's portrait.
A successful portrait brings out a person's unique personality and character, capturing their inner world. To make a beautiful portrait, you need to open yourself up to the other person.
Portraits are often intended for the subjects themselves. It is therefore very important that the person recognises themselves in the image produced and is happy with the result.
Make the person feel at ease
Create a relaxed atmosphere so that your photos look natural. Don't worry primarily about the photograph, but about your subject. He or she should feel good, confident. The session should be enjoyable for everyone involved. You need to create the right conditions. A few jokes and a pleasant chat will lighten the mood.
Some simple tips will also make your job easier. For example, subjects often don't know how to place their hands. They immediately feel more confident if they're holding an object, or if they can lean on something. A handrail, for example.
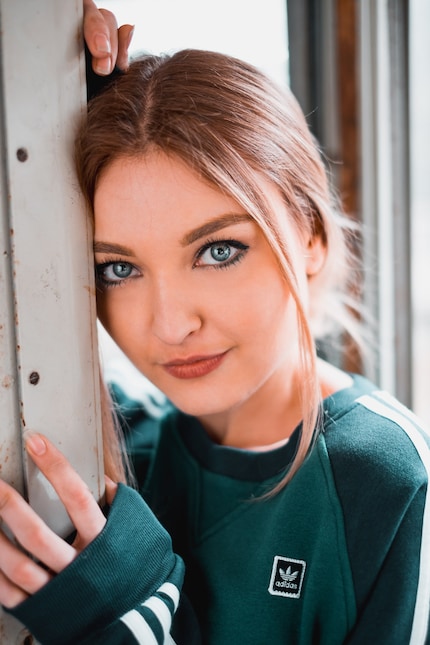
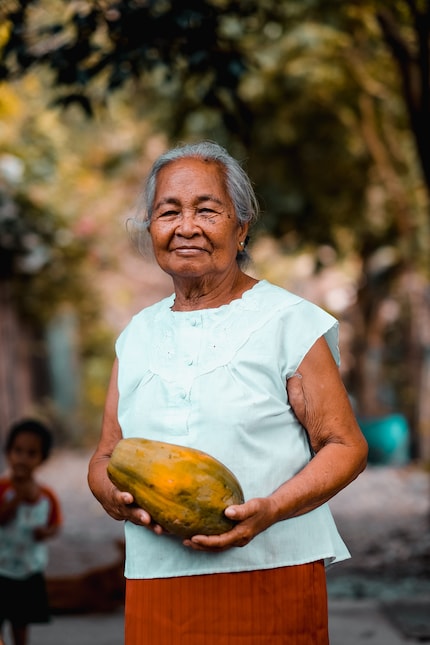
You'll make your shoot and your images much more lively and natural if you (or someone else) have a conversation with your subject.
If you're not happy with the result, say so. Some people tense up when they see your reactions. Don't analyse every shot during the session. Just make sure your set-up and camera settings are correct before you start. You can then simply check from time to time that everything is working perfectly. You can also do this easily on the viewfinder of mirrorless cameras.
Use a bright lens
Numerous accessories will help you get your portraits right, but only one of them is absolutely essential: a bright lens.
If you're a beginner buying your first SLR or camera system along with a lens, it won't usually be a bright one. This is because it needs to be versatile, have many magnification settings and not cost too much. Its light intensity will not be sufficient. You'll need a fixed focal length lens. Some are inexpensive and already have an aperture of f/1.8. Even larger apertures (f/1.4 or f/1.2) will cost you much more without necessarily being necessary.
In full format, the focal length is generally between 50 and 100 mm. This corresponds to a framing of 35 to 70 mm on cameras with APS-C sensors (the most common in non-professional photography) and 25 to 50 mm on Micro Four Thirds lenses. Here are three lenses that correspond to the three sensor sizes. They all have a relatively wide framing. The Canon lens can also be attached to an APS-C camera. However, your framing will be smaller.
What I have just described corresponds to a classic approach. This does not mean that you should always use this type of lens. You can also take great photos with a wide-angle lens. It will give more room to the background and add a little originality.
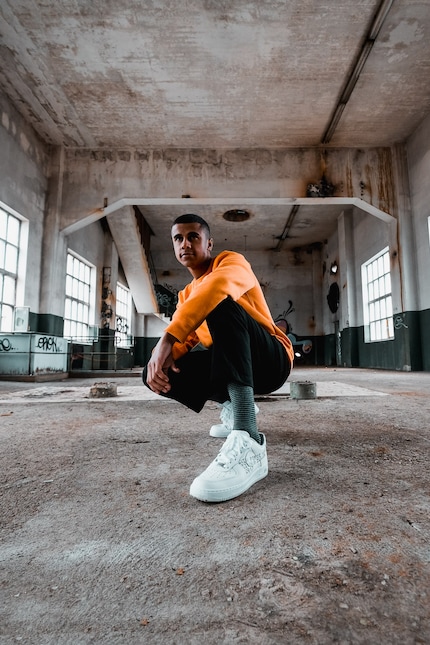
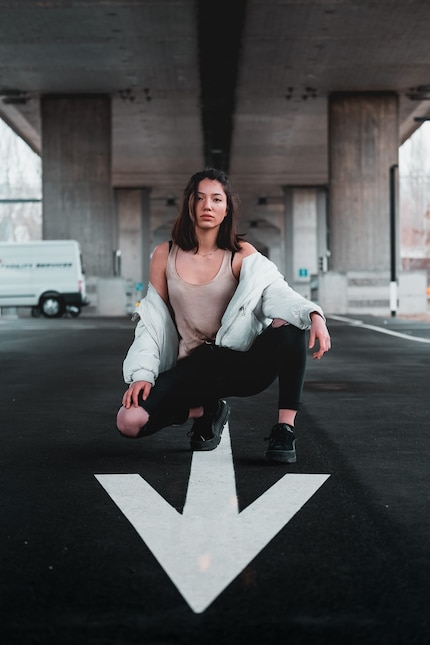
The article below will help you make your choice.
Focus on your subject's eyes
The rule is simple: always focus precisely on the eye closest to the camera. When you photograph your subject from the front, the two eyes are of course equidistant. When the subject is in profile, you see only one eye, but the rule remains the same. The same applies to multiple subjects. Simply focus on the nearest eye, no matter whose it is.
This is essential, as you're usually working with a limited depth of field, and the slightest blur on the eyes will be noticeable.
How do you focus precisely on the nearest eye? "Old school" photographers opt for manual focusing and, if possible, widen the frame on the viewfinder. Modern cameras use focus peaking: the viewfinder highlights in colour the parts of the image that are in focus (manually). If you are using autofocus, choose an AF zone that is small enough to be placed over the eye. When it's too large, it also encompasses the nose or forehead and doesn't focus well.
The following article will give you more information on autofocus.
Pay attention to the background
Ignoring the background is one of the most common mistakes. Intruders - rubbish, power cables, poles... or yourself (your reflection in a window, for example) - often creep into shots.
You can smooth out your backgrounds by opening the diaphragm. They will fade, especially if you use a long enough focal length.
But that's not all.
But that's not the end of it, because a blurred background can still contain light and dark areas or particular colours that should be brought to the foreground. Above all, the background is a configuration tool. Ideally, it gives information about the person by showing them in 'their' environment. Obviously, it shouldn't be too blurred, otherwise you won't recognise anything. Think about the background you want to work with before you start your shoot, and perhaps discuss it with your subject.
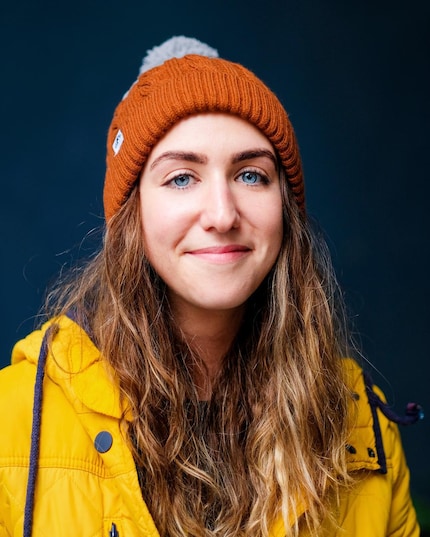
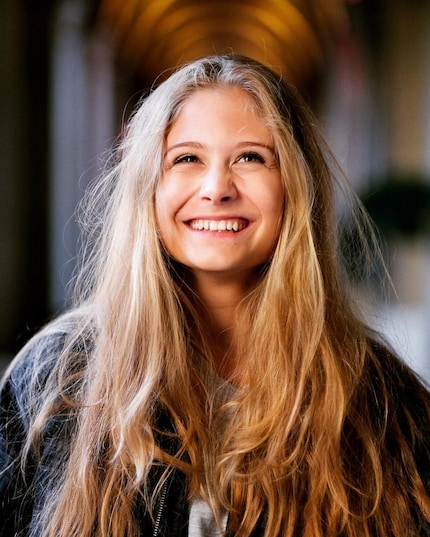
Shoot in A or M mode so you can manually adjust the aperture. You'll dose your blurring effects correctly. If you use automatic or portrait mode, the camera chooses the aperture itself, so you can't change it.
If you let your subject take its place before adjusting the background as best you can, you'll complicate your life. Instead, do the opposite: first look for an angle that works well with the background, then place your subject. He can always move and turn. The background, on the other hand, is fixed.
As you get closer, the background will become smaller and blurrier. This is a solution when conditions are horrendous, but portraits taken up close have a different effect (I'm getting to that). Is this what you want? No? Then change location.
Reflections (in a mirror, a body of water, a window) can make for very interesting images, but you'll struggle to avoid unwanted elements appearing in the image.
Choose your lighting conditions carefully
The best light for classic portraits is bright and doesn't cast harsh shadows. You'll get these bright conditions near a window. Avoid direct sunlight (north-facing window) to get a soft image and even lighting. The light comes from the sides and does not create unsightly shadows under the eyes.
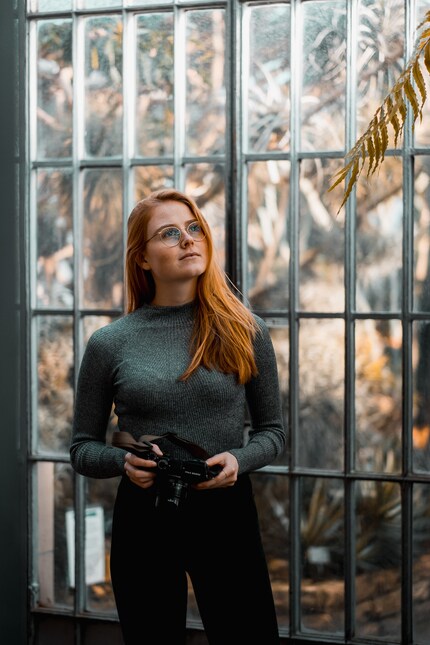
If your session takes place outside in fine weather, look for a shade that covers a large enough area. That of a building, for example.
Avoid direct sunlight, especially at midday, when it comes from above. It forms harsh shadows that create dark circles around the eyes and cause other unsightly effects.
Side light shouldn't be too harsh either. If you place the camera with your back to the sun, your subject's face will be too dark. Facing the sun, you'll dazzle your subject, who will squint.
The light should not be too harsh either.
Many photographers go against the old rule that you shouldn't shoot against the sun. When the sun is low, backlight gives a beautiful shine to the upper and outer parts of the hair. It's the 'soft, romantic hipster look'. To achieve this effect without darkening the face too much, you'll need to overexpose your photos, even if the background (the sky) turns completely white. This is how the cover photo of the article below was taken. It's very bright and cheerful.
You can also light dark faces with a flash or reflectors, but you'll struggle to get a natural result. Use Mother Nature's soft light instead.
You can overexpose your photos in a variety of ways. The manual method is best when you have time and the lighting conditions are constant. Choose M mode, open the aperture and expose for much longer than "normal". Automatic ISO mode should of course be disabled.
Think about what you want to express
An infinite number of settings are available to you: framing, angle, direction of light, colour or black and white, hard or soft contrasts... In all cases, what an image expresses is just as important as its quality. Different framing and positions produce different effects. So think about how your subject will be represented.
An example: emotion-filled proximity or the viewer's perspective
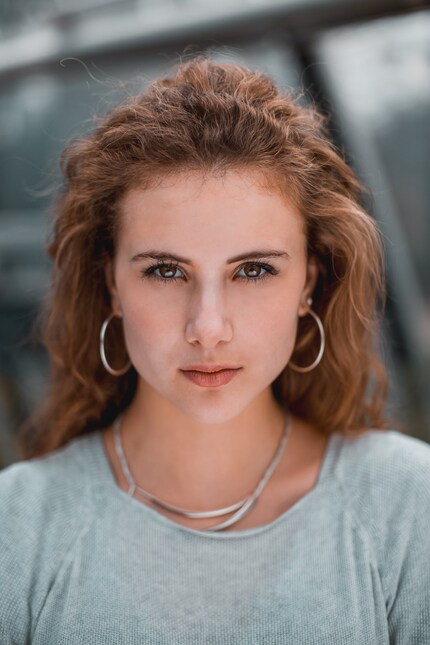
The smaller the framing, the closer you feel when contemplating the photo. If you can see more than just the face, the image has a really intense effect, even more so if you show the face head-on, and your subject is looking directly at the camera. It's the ultimate confrontation. There's no way out.
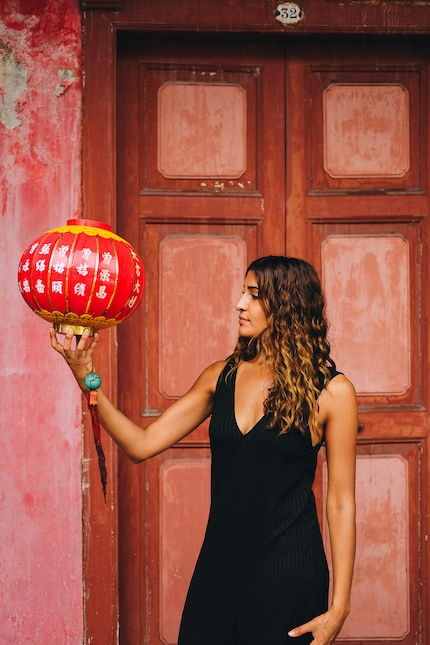
This type of photography can also be oppressive. Many subjects don't want to be portrayed in this way. To increase the distance, simply do the opposite: choose a larger framing and place the face half turned to the side (half-profile). If the person is looking straight ahead, they are not looking at the camera. When you admire the photo, you adopt the observer's perspective.
The choice of perspective (frontal, half-profile, profile, slightly plunged, low-angle or from behind, with the head turned slightly) is just as important. Unlike other parameters, you won't be able to change it afterwards. Test out various settings.
Can finishing touches be done on the computer?
You can switch from colour to black and white and from hard to soft contrasts (or vice versa) later, on your computer. I advise you to shoot in RAW, as this format is much more flexible.
The choice of colours and contrasts depends very much on the lighting conditions. It's best to have a clear idea of the desired result when you take your photos.
Get your subjects' consent
When you photograph people in the street without them noticing and publish these photos, you are infringing personality rights. You must obtain their prior consent. These rights do not apply to images in which these people are not recognisable, such as shots taken from behind. But these are not portraits as such. Nor do personality rights apply to large groups of people. In the public space, everyone should assume that they can be found in a photo. We don't talk about portraits in this case either.
You must absolutely obtain your subject's consent before you can use the photos you have taken of them. If you intend to publish them online or use them to enter them in a competition, your subject must be informed and provide their consent.
You must obtain your subject's consent before you can use the photos you have taken of them.
Bonus: show your subject a few photos during the session. Let him take part in selecting the shots and let him know that you value his opinion. This will make them feel more confident, which will lighten the mood. Here we are at the beginning of my article. I've come full circle.
[[small:]]
My interest in IT and writing landed me in tech journalism early on (2000). I want to know how we can use technology without being used. Outside of the office, I’m a keen musician who makes up for lacking talent with excessive enthusiasm.
Practical solutions for everyday problems with technology, household hacks and much more.
Show all


