
Guide
A little photo advice: the rule of thirds
by David Lee

With post-cropping, you can greatly improve the effect of your pictures with little effort. You have time to pay attention to things that you missed when taking the photos.
The most important tip for pruning is quite simple: never be too lazy! It's always worth it.
Get into the habit of putting a little bit more on the picture than is actually necessary. This will give you the necessary reserve to crop a picture as desired.
Also bear in mind that a picture will be cropped anyway if you adjust it afterwards. In this photo, the mobile phones can no longer be fully displayed due to the rotation.
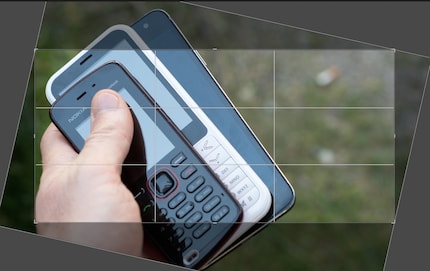
It makes sense to divide the cropping into two parts: Rough pruning and fine pruning.
This is about the basics. Is a specific aspect ratio required for your purpose? For example, a square for Instagram? I always have to bring the cover images of my articles to a 2:1 ratio in our current layout.
Barely shot images often don't contain a real image composition, but the main subject is simply in the centre. This can be corrected very easily afterwards.
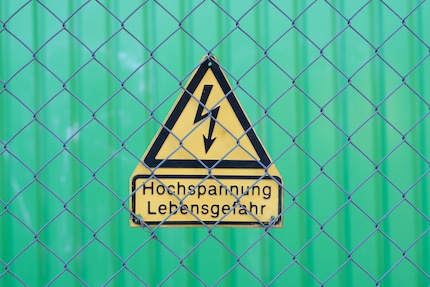
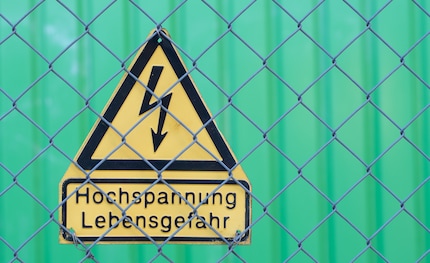
Versely, motifs that should be exactly in the centre but are slightly off-centre can also be centred.
Another part of rough cropping is when you decide to get much closer. This often happens to me. Sometimes the situation doesn't allow for a closer crop (too little zoom), or I didn't realise at the time that the close-up would look much better.

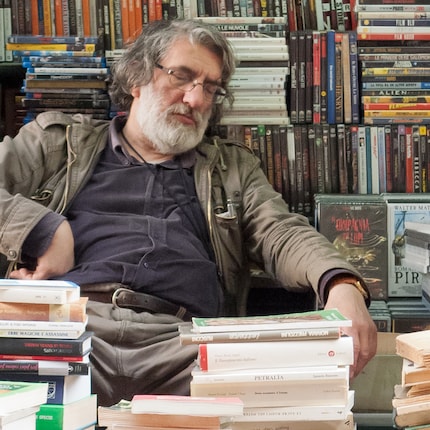
Fine work is about eliminating distracting details at the edges. Many people think this is unimportant, but it makes the image calmer and strengthens its effect.
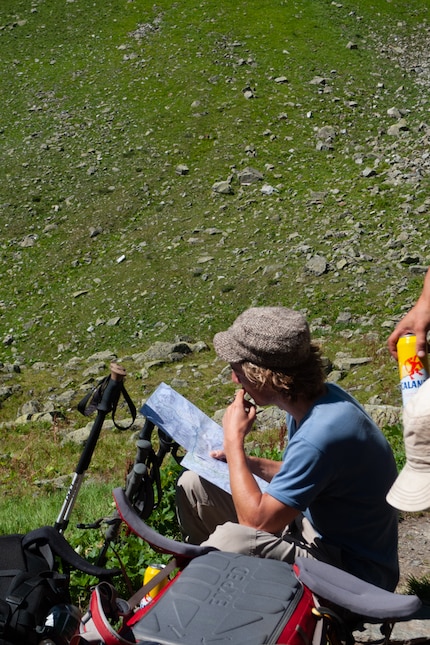
Here the case is obvious: the hand with the rifle and the cap underneath have to go. They only get in the way. The rucksacks at the bottom are also quite unsettling and add little to the image. What's more, the portrait format is less extreme if I crop them out. I could crop the upper part of the picture if portrait format was not desired. Otherwise I would leave it as it is: It doesn't distract, but supports the image statement "we are here at the end of the world and don't know what happens next".
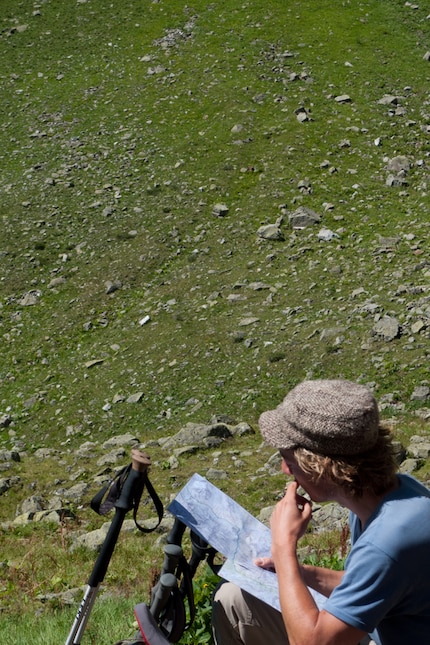
Another example: Here the bottom left corner is disturbing. [[image:26929502]] [[image:26929501]]
The picture is much calmer this way. The grass at the top is also gone.
Another option here would be to cut away a lot more on the left so that the lizards look more into the room instead of towards the edge. Or even consider the upper lizard as a "distracting detail" and cut it out completely. Of course, this would then no longer be fine work.

One way or another, cropping almost always improves your photos. Today's cameras have such a high resolution that even a heavily cropped image usually still has enough sharpness.
My interest in IT and writing landed me in tech journalism early on (2000). I want to know how we can use technology without being used. Outside of the office, I’m a keen musician who makes up for lacking talent with excessive enthusiasm.
Practical solutions for everyday problems with technology, household hacks and much more.
Show all