
How to make a macramé strap for your yoga mat
I like my new yoga mat so much that I made it an accessory in a coordinating colour: a macramé strap. This is your step-by-step guide.
I treated myself to a new yoga mat and I wanted to display it at home as well as carry it around with me. The only thing is, the run-of-the-mill strap that comes with it isn’t exactly sexy. A handmade macramé one is a better fit for my boho-inspired style. One like this:

With a little dexterity and patience, surely you and I will be able to make our own in the colour of our choice. Won’t we?
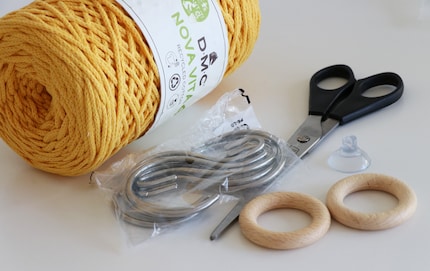
What you’ll need:
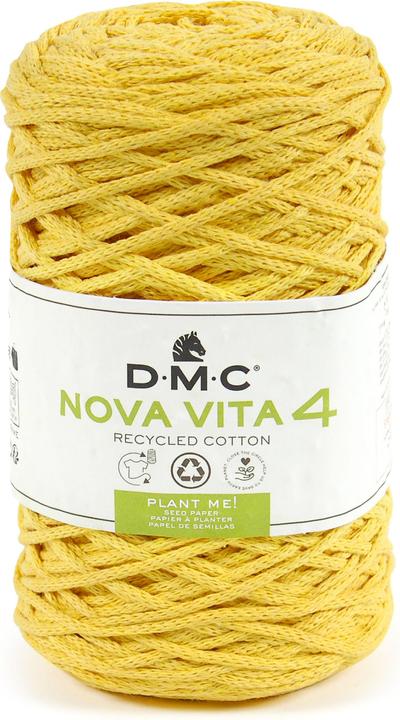
- 1 ball of macramé yarn
- Tape measure
- Scissors
- 1 hook
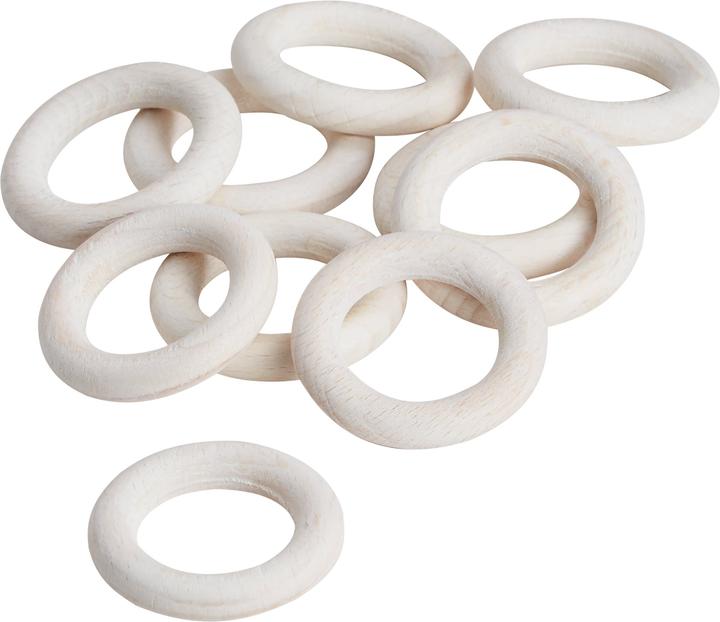
- 2 wooden rings
The set-up
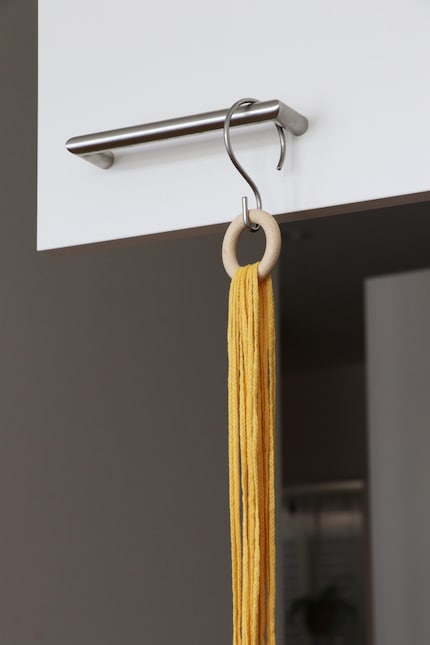
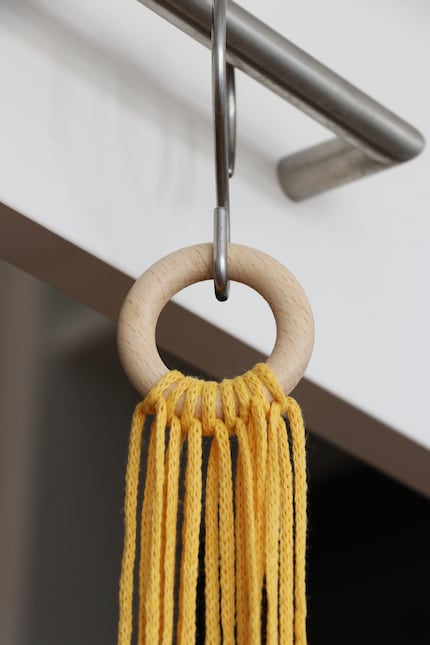
The easiest way to do things is with a sturdy fixture that allows the threads to hang down, so I attach a shower curtain hook to the handle of my taller kitchen cabinet, then hang a wooden ring on the hook. If you have nowhere to attach your hook, here’s a guide to an improvised suction cup alternative.
Now it’s time for the yarn. My strap needs to be about 160 centimetres long, which corresponds to:
- 4 threads of approx. 13 metres each (guide threads)
- 4 threads of approx. 5 metres each (working threads)
Note from a future expert, who now knows better: If in doubt, measure more threads. The above specs don’t match the measurements I originally decided on. They correspond to what I would do today, because unfortunately I miscalculated and cut my threads too short, so I had to keep adding extensions. And concealing them when braiding is easier said than done.
Step 1: Attach the threads to the wooden ring, making sure that the four shorter working threads are in the middle and two of the long guide threads are either side of them. The wooden ring should be sitting half way along the length of the thread. In other words, the wooden ring should bisect all the threads exactly in the middle, so that a total of 16 strands are hanging down in front of you.
Step 2: Fasten each of the eight threads to the wooden ring with a simple knot. That way they don’t slip.
The knotting technique
The flat, belt-like shape of the strap calls for a reef knot. The principle behind it would actually be simple if we were only working with four strands, like in the image below, but there are 16. This makes the strap a bit thicker and more comfortable to wear, but it makes knotting a little more complicated.
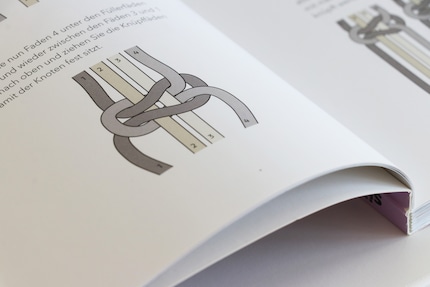
You just have to rethink it and combine four strands into one. This means that the four strands on the left make up a guide thread and the four strands on the right make up another. In the middle, you have eight working threads that you don’t have to worry about. They’re only braided, which is why they’re shorter. To keep them out of your way, tie them together lower down with a hair tie or clip.
Pictures explain the knotting technique better than I could ever do in words. So, here you go!
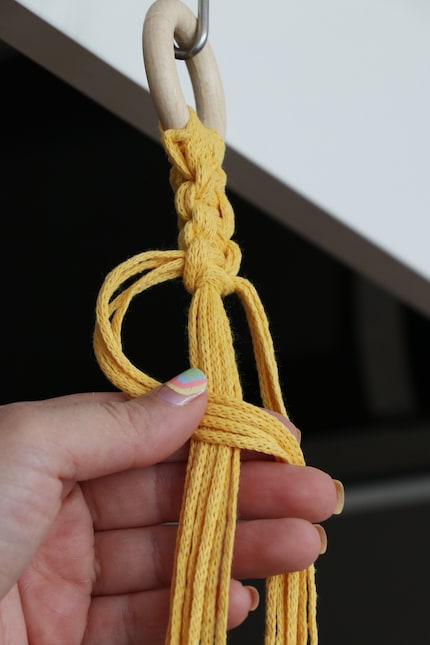
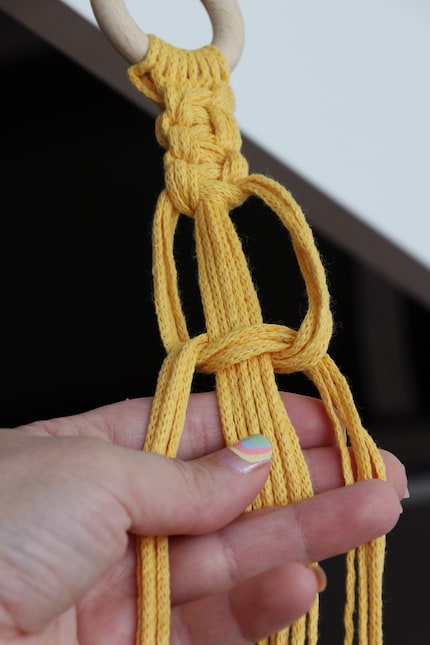
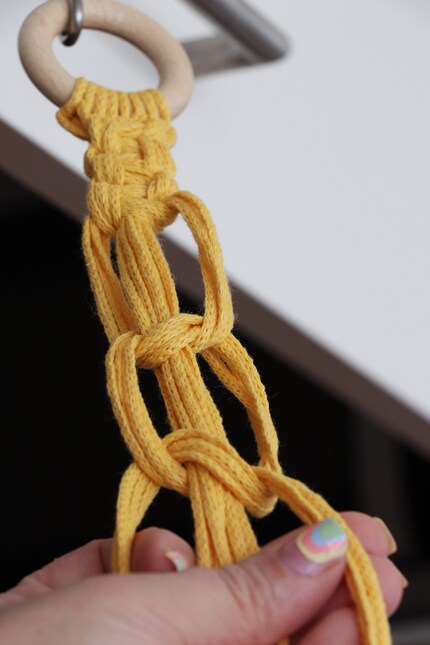
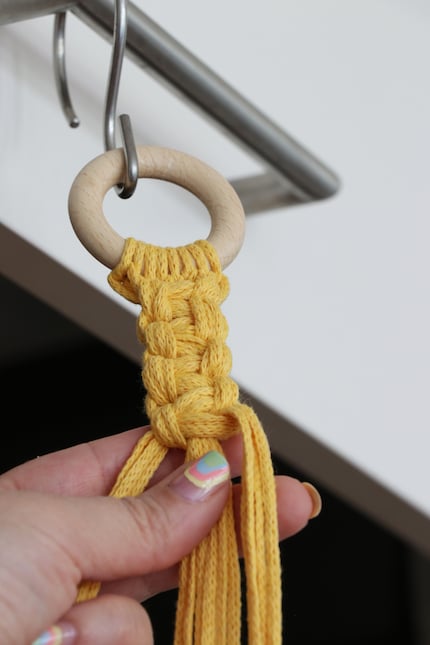
Repeat this until you’ve knotted the desired length of your strap. Cut the remaining threads to a length of 30 centimetres.
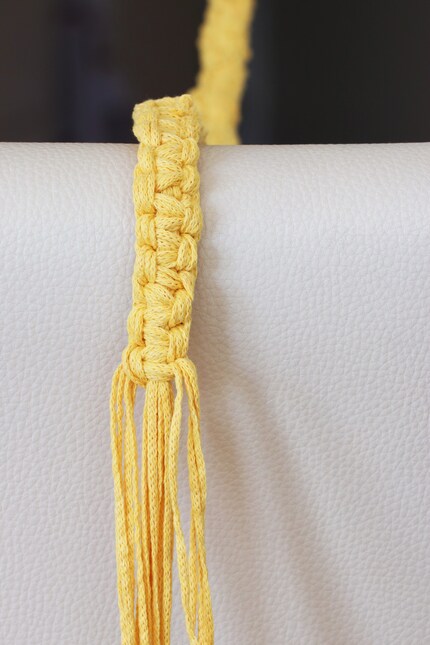
The finishing touch
This is where it gets a bit tricky. If, like mine, your imagination tends to let you down, it’s best to pick up your rolled-up yoga mat at this point. This will help you add the strap correctly.
For reference, this is how the mat should sit in the strap:
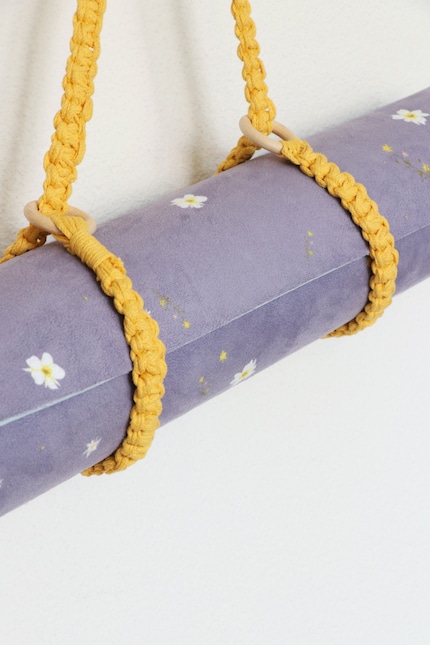
Step 1: Pull the frayed end once through the wooden ring which we attached the threads to at the beginning.
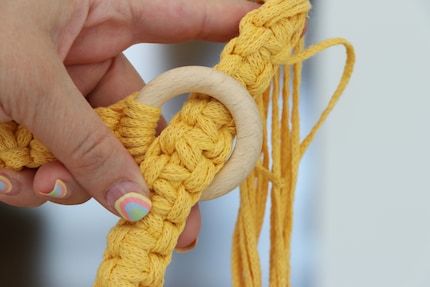
Step 2: Then slide the yoga mat through the loop this creates and tighten the strap until the loop is snug around one side of the mat.
Step 3: Likewise, take a second ring, threading the fringed end through it and wrapping it once around the other side of the mat before pulling the protruding fringes back to the wooden ring. You’ll secure them there later with a wrapping knot. Be sure to check beforehand that the strap hasn’t twisted while you’re placing it, because the pattern on the front and back doesn’t look the same. One side is flatter, making it easier to sling over your shoulder. The other is slightly curved. A twist not only looks ugly later on, it could also become uncomfortable.
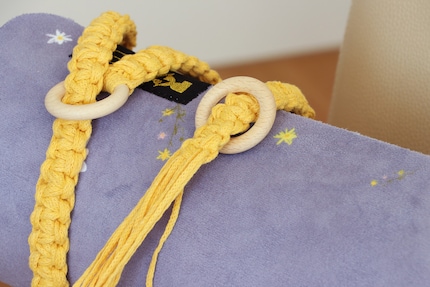
Step 4: Use a wrapping knot to fasten the loose fringes tightly to the second wooden ring. You can see the principle in the following illustrations:
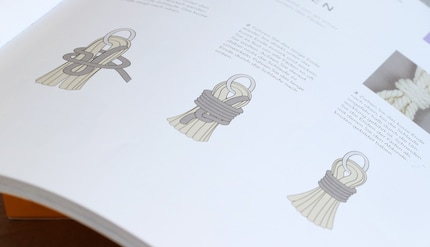
Cut another piece of yarn to about 40 centimetres long and wrap it around the fringes on the wooden ring, as shown in the picture above, as many times as you like. Finally, pull the end of the thread poking out at the top upwards so that the lower end gradually disappears behind the multiple wraps.
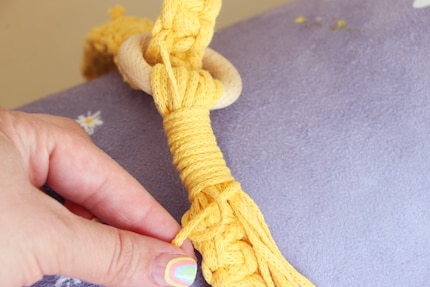
Step 5: Now cut off all excess threads.
Finished. Finally.
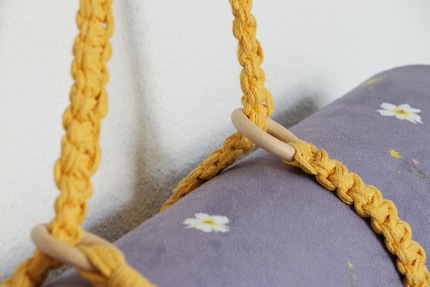
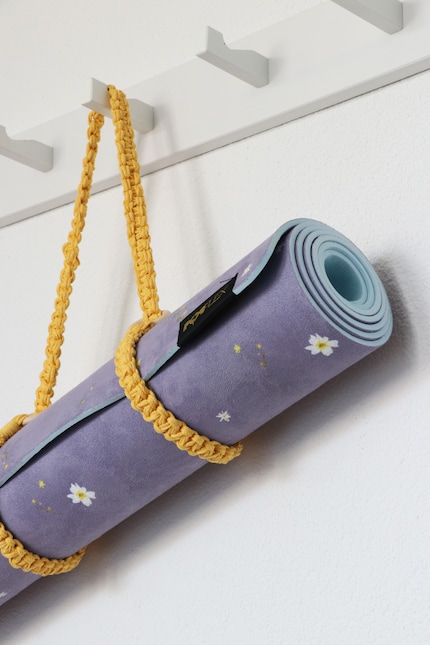
*Couldn’t figure out my instructions? Don’t worry. I learned the knotting technique and the wrapping knot from this book, where you’ll find everything you need to know about macramé:
As a massive Disney fan, I see the world through rose-tinted glasses. I worship series from the 90s and consider mermaids a religion. When I’m not dancing in glitter rain, I’m either hanging out at pyjama parties or sitting at my make-up table. P.S. I love you, bacon, garlic and onions.
Practical solutions for everyday problems with technology, household hacks and much more.
Show all