Photography at night - the best in winter
If you invest a little time and energy, you can take impressive pictures even in the dark season. With and without a tripod.
Wintertime means long nights and short days. It's cold and I like to hunker down in the warmth of my flat. But when I do manage to go outside with my camera, I never regret it. I like it colourful, and the night offers more than the grey afternoon winter light.
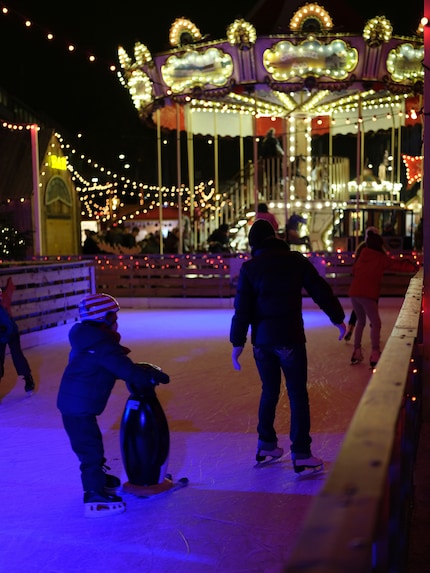
Once a problem, no longer
The conditions for taking photos in low light are much better today than they were ten or twenty years ago. You can do things that would have been impossible or only possible with enormous effort in the past. The progress of technology has brought in particular:
Very light-sensitive sensors Today's cameras deliver usable images even with high ISO sensitivities. With a camera with a large sensor (APS-C or larger), you can safely increase the ISO to 6400, sometimes even higher.
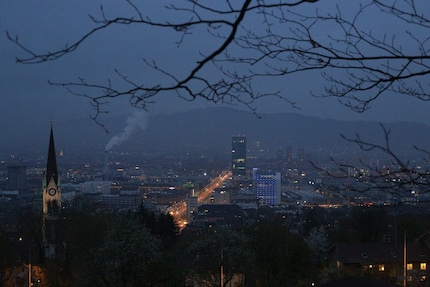
Cameras with an APS-C sensor, which are already available at very favourable prices, are sufficient for this purpose. Full-frame cameras are of course even better. [[product:723275,6077589,5712412]]
Image stabilisers Ever better image stabilisers are being built into lenses and/or cameras. Ideally, you can combine both. With a "stabiliser", you can take longer exposures without the image blurring - without a tripod.
Better autofocus The autofocus of a modern camera is much better than that of an old one. Even in low light, the camera usually finds the focal point itself.
Photographing without a tripod
With the current state of the art, night shots are possible without a tripod - which makes things much easier. All you need is a camera with a fast lens. It doesn't have to be expensive.
Take a torch with you. Even if you know your camera really well, you will hardly know which button to press and exactly where it is in every situation. Use your camera's quick menu to make things a little easier.
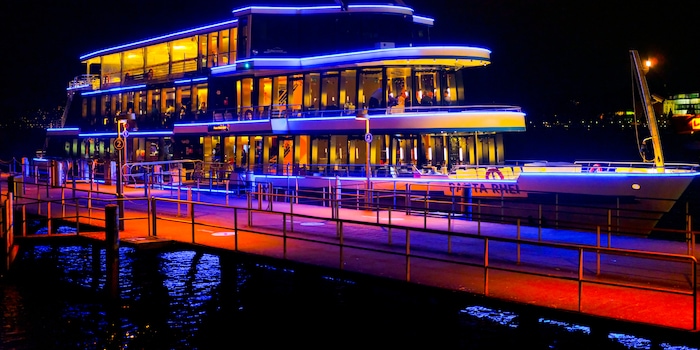
But even at night, not all situations require extremely high ISO values. It really depends on whether there are light sources nearby or even directly in the picture. Here, for example, 400 ISO was enough for a shot without a tripod - this is also possible with a compact camera.
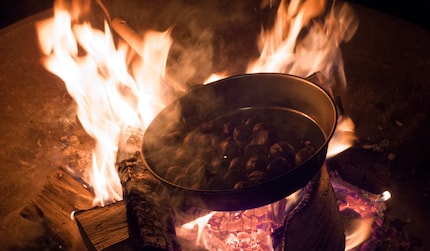
It is difficult to predict how much ISO you need in each individual case. To avoid wasting image quality unnecessarily, set the ISO sensitivity to automatic. However, the automatic setting must have the highest possible maximum value. As high as the camera still allows with acceptable quality.
It is best to also limit the exposure time in automatic ISO mode. Without image stabilisation, the fraction of a second should correspond approximately to the focal length. Example: In the case of a focal length of 50 mm, the limit is 1/50 second. With image stabilisation, the value may be longer. But only if you are not aiming at people. Otherwise you will get blurred faces.
Of course, you can also use flash. But flash light from an ordinary built-in flash looks very harsh and unnatural. Only nearby subjects are illuminated, the rest remains dark. Many people half close their eyes when using flash and then look completely stupid.
In the beginning, I claimed loudly that the autofocus would not cause any problems at night. That's true, but you have to direct the focus area to a part of the image where there is structure. And at night, large parts of the image often simply remain black. I always use single AF in such situations so that the camera gives me feedback as soon as it has focussed correctly. If single AF doesn't mean anything to you, then read this:
Photographing with a tripod
To take photos with a tripod, you need the camera:
- A tripod
- a remote shutter release
- Patience
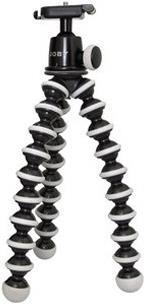
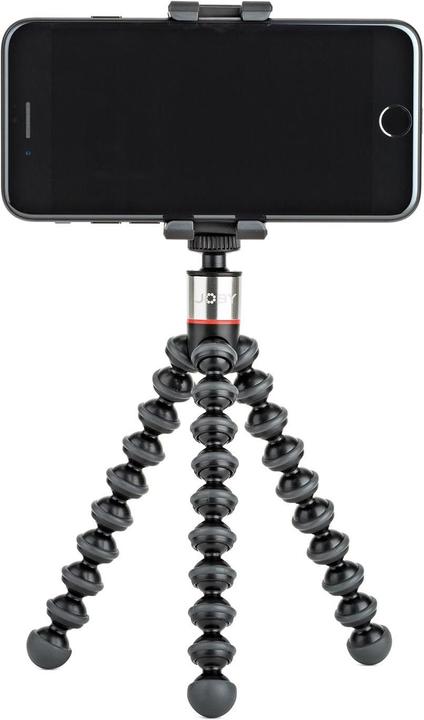
Mini tripods are a simple but very useful invention. Especially the movable clamp tripods "Joby Gorillapod". They are now available for all conceivable weight classes and also for smartphones.
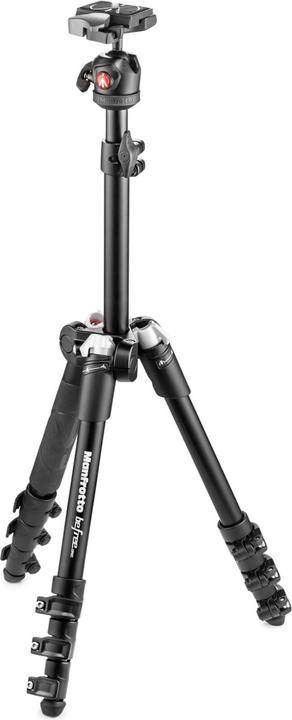
It is not always possible to find a suitable place to fix the mini tripod at the desired height. A large tripod is more flexible in this respect.
Tripods are one of the few digitec products that hardly ever become obsolete. A good tripod will still be good in 10 years' time. What's more, the threads are standardised and every camera fits on them. That's why I wouldn't skimp on tripods. I was annoyed with a cheap tripod for years until I was lucky enough to have it stolen. Now I have this one. I haven't tried it out yet, but my first impression is very good.
With a tripod you have the following advantages:
- You can turn the ISO sensitivity all the way down and get the best possible image quality
- You can take long exposures, which creates unusual effects (classic: passing lights in traffic). Passers-by are only blurred and cannot be identified. In extreme cases, they disappear completely
- You don't have to shoot with an open aperture and therefore have more options for composition. With a closed aperture, for example, lamp light appears as a shining star.
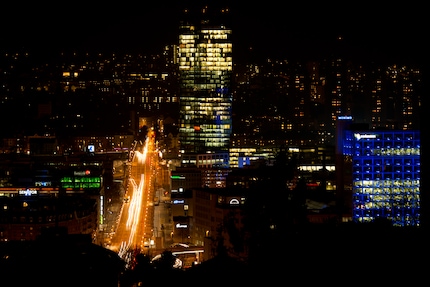
A tripod alone does not guarantee sharp photos. Even the best tripod is not as rigid as a concrete block. When you press the shutter release, the tripod and therefore the camera will sway for a while. You can remedy this with a remote shutter release. But first check which one is compatible with your camera!
If you don't have a remote shutter release with you, the self-timer will do in a pinch. After a few seconds, the shock should have subsided.
For SLR cameras, you also need to activate the mirror lock-up function. This is because the mirror also triggers a small vibration when it is raised. With the mirror lock-up function, the mirror flips up two or three seconds earlier than the shot starts.
On most cameras, the maximum exposure time you can set is 30 seconds. To expose for longer, you need bulb mode. The camera exposes for as long as you hold down the shutter button. Logically, the self-timer does not work here and you need a remote shutter release. This works like a start-stop button; the second time you press it, the exposure stops.
In bulb mode, you have to select the aperture manually. It is therefore a special case of manual mode. If there is no special bulb mode on your camera, it is probably part of M mode. So select M and set the exposure time to over 30 seconds.
Setting the correct exposure time
But how long to expose? When taking long exposures, you can't blindly rely on automatic exposure. And you don't want to wait 30 seconds each time to see if the exposure is right. Apart from that, you'll also drain the camera's battery pretty quickly. Instead, take a test photo with a short exposure time, open aperture and high ISO, and then convert the time for low ISO and desired aperture.
The conversion works like this: If one value decreases by one step, the other two must be increased by a total of one step.
- Steps for ISO: 100, 200, 400, 800, etc.
- Exposure levels: 1/120, 1/60, 1/30, 1/15, etc.
- Aperture steps: 32, 22, 16, 11, 8, 5.6, 4, 2.8, 2, 1.4 (the aperture is multiplied by the root of 2 instead of just a factor of 2)
1/15 second and f/2 is therefore as bright as 1/30 second and f/1.4.
A realistic example. It's dark and you take a test photo at 1/15 second, 6400 ISO and f/2.
The exposure seems to be OK. But you want a photo with 200 ISO. To do this, you have to halve the ISO value five times. This means that the exposure time must be doubled five times. Result: 2 seconds, 200 ISO and f/2.
Now you want to close the aperture (to f/22) instead of f/2. That's seven stops. The exposure time must therefore be doubled a further seven times. This results in 256 seconds, i.e. four minutes and 16 seconds. A case for bulb mode and your stopwatch. Although it doesn't depend on the exact second.
In the dark, images often appear brighter than they actually are. The histogram usually gives you a reliable indication of whether you have exposed correctly - but this is particularly difficult with night shots. These photos naturally have a lot of dark areas, so you can't easily tell from the histogram whether the photo is underexposed or not.
My interest in IT and writing landed me in tech journalism early on (2000). I want to know how we can use technology without being used. Outside of the office, I’m a keen musician who makes up for lacking talent with excessive enthusiasm.
From the latest iPhone to the return of 80s fashion. The editorial team will help you make sense of it all.
Show all


