

After a 10-year break, I’m building a PC – can I still pull it off?
Before winding up in the world of Apple, I used to build all of my computers myself. Ten years on, I’ve finally got a pile of PC components in front of me again – and I’m keen to find out what’s changed in the years since.
Whenever I see PC components, I get nostalgic. I built my very first gaming PC myself at the age of 14. Various others followed, including the legendary Lanboy case. Then I switched to Mac, putting an end to my PC-building exploits.
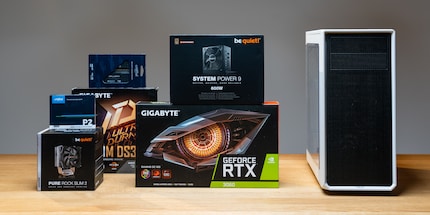
A budget gaming PC
Today, I’ve once again got the chance to knock something together myself. To help me do so, my colleague Kevin gave me a box of material. I don’t accept any help with the assembly, be it from people or guides – I want to discover what’s changed in the past few years for myself. Unlike before, the price difference between this and a pre-built device is negligible. That being said, if you build your own computer, you set your own priorities, spending more or less money depending on what the specific components will be used for.
Here are the individual components I’ll be using to build a budget gaming PC:


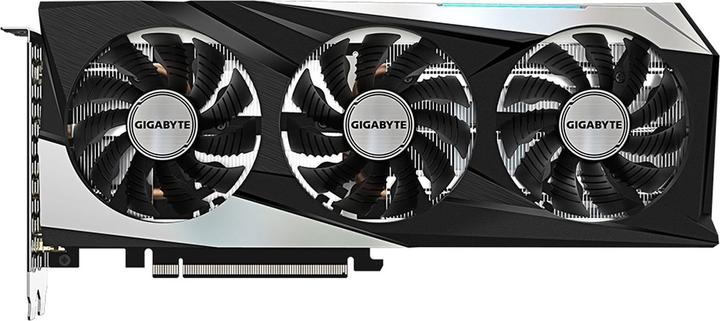



Listan be quiet! System Power 9 | 600W CM, 600 W, 200 - 240 V, 50 Hz, 6 A, Active, 120 W
600 W
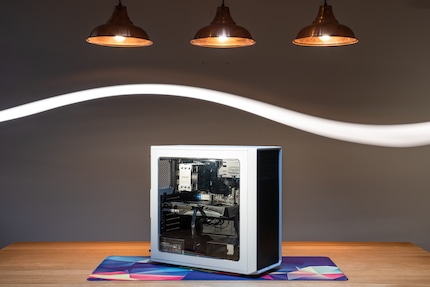
I start with the case. It’s evident from the thin material that the Fractal Focus G is cheap. However, it does offer sensible cable management, enough space for my configuration and good airflow on account of the mesh architecture. Two 120-millimetre fans are installed on the front as standard, which, for my purposes, is good enough.
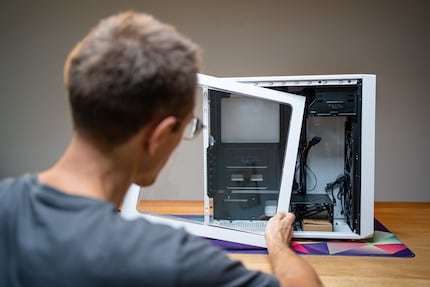
Rookie errors
«Right, time to put in the motherboard», I think. A pre-installed nub that fits into a hole in the middle of the board makes it easy to place. As a result, it goes in correctly straight away. I’ve never had anything like that happen before. Eight screws later, the penny drops: I’ve forgotten the IO shield. Dammit. Classic rookie error. Sixteen screw manoeuvres later, the back of the case is starting to look better.
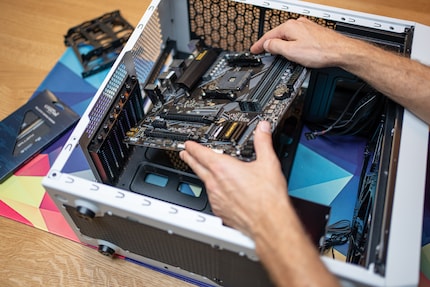
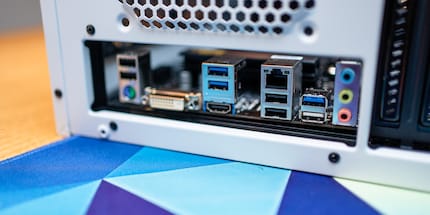
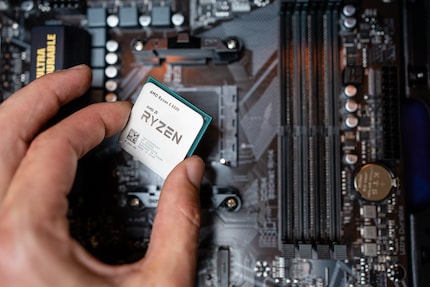
Next, I put in the processor, at which point I notice my next mistake. The components that are supposed to go on the motherboard are far easier to install outside of the case. Unfortunately, I’ve only just remembered this and can’t be bothered taking the board out again. I keep working on the case. How do you get the processor into the CPU again? Not finding any clue in the instructions, I carefully place it into the socket in all four positions. Only one of them works, so it’s impossible to mount it incorrectly. Kevin points out afterwards that I can find the correct position by using the small rectangles on the corners of the socket and CPU.
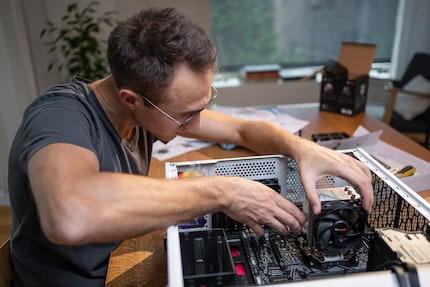
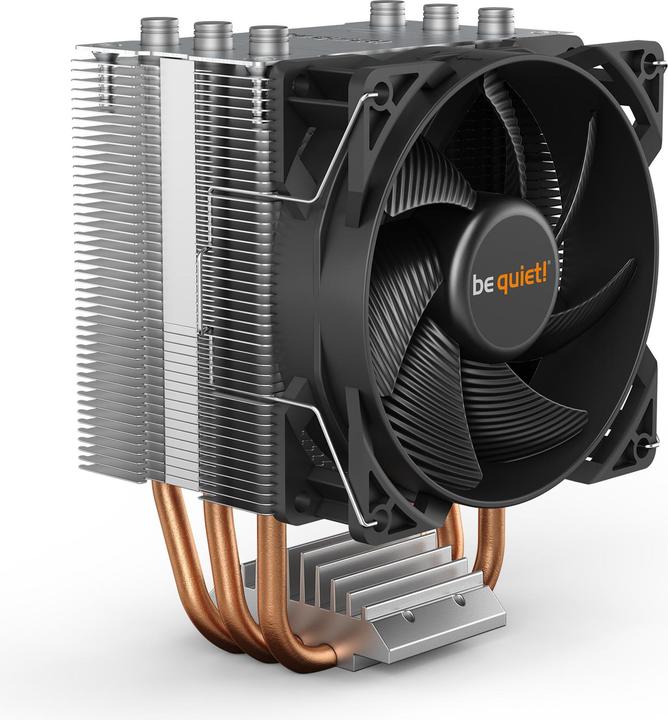
The CPU cooler is no problem either: set it up, close the bracket, attach the cooler, done. What’s more, the AM4 socket doesn’t require any screws – handy. The thermal paste has already been applied. Installing the RAM goes just as smoothly – markings on the motherboard give me a friendly hint as to which two slots I should fill first.
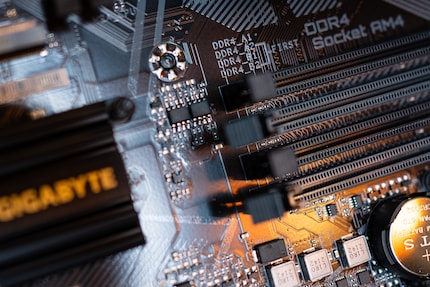
Where did my SATA interfaces go?
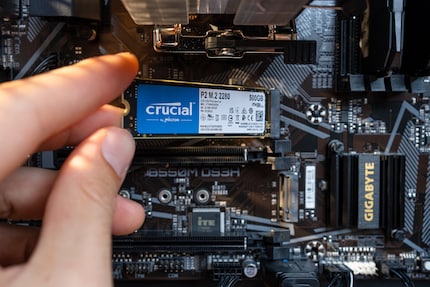
With the M.2 slots, it’s a different story. First off, these interfaces didn’t exist 10 years ago. Secondly, even the instructions don’t help me understand which of the two slots is best for the SSD – or whether it even matters. After all that, I just take the top one, marked «CPU». This turns out to be correct afterwards, as Kevin explains to me: this slot is directly connected to the CPU rather than being connected via chipset. As a result, it’s slightly faster.
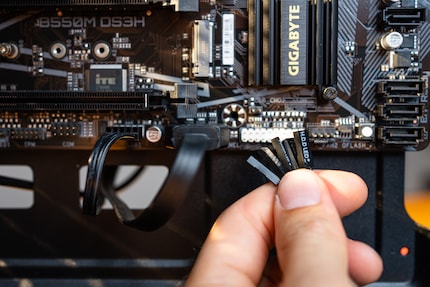
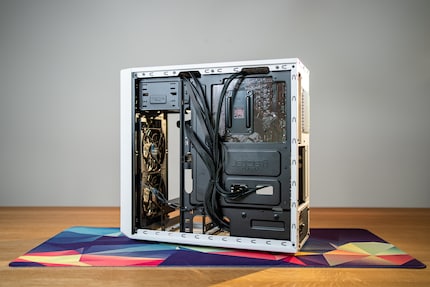
After slotting in the graphics card, I get to work on the power supply and all the connecting cables. Fortunately, the Bequiet System Power 9 is modular, which makes things simple. The cable routing behind the side panel of the case also helps make everything look nice and tidy. Ten years ago, this kind of thing was still hard to come by. The tiny, fiddly connectors for the On and Reset switches and case LEDs have stayed the same.
Verdict: (Almost) nothing has changed
Despite my 10-year break from PC building, the device looks decent, starting up on the first try. I didn’t expect to encounter so few problems. That’s less to do with my skills and more to do with the fact that, these days, anyone can do it. That is, as long as you know which components go together. Or, as was the case with me, they’re ready to rock on arrival. It becomes clear during my attempt that little has changed in the last decade when it comes to interfaces and connectors.
All I’ve got to do now is set up the PC and get used to Windows again. I’m dreading that slightly. You’ll find out next time how I get on. By the way, that’s when the PC will be given away to a lucky winner. Follow me so you don’t miss out!
My fingerprint often changes so drastically that my MacBook doesn't recognise it anymore. The reason? If I'm not clinging to a monitor or camera, I'm probably clinging to a rockface by the tips of my fingers.
Practical solutions for everyday problems with technology, household hacks and much more.
Show all

