
Looking for a last-minute Christmas present? Bake pretty polymer clay pendants
Are you in crafting fever? And/or stressed about Christmas presents? Then you've come to the right place: it's so easy to conjure up personalised charms from modelling clay that make key rings and bags more beautiful.
Thursday afternoon, Natalie Hemengül, Pia Seidel, Stephanie Vinzens and I knead colourful balls in our hands. Not to relieve stress. No, the balls are made of polymer clay and at the end of this experiment, they should make pretty charms that can ideally be given as gifts.
The visions are clear: while Natalie wants to model freestyle decorations for a small mirror and bubblegum-pink lips, the rest of the crafting troupe is inspired by design classics from the fashion and interior universe.
Source: Natalie Hemengül
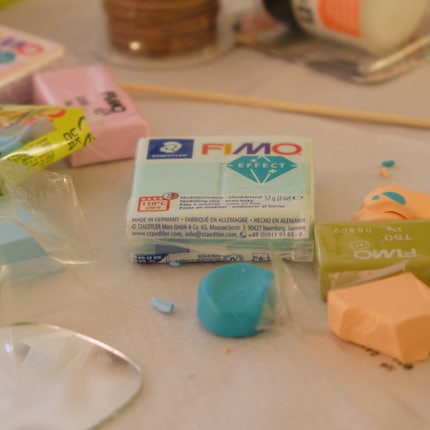
I quickly realise that polymer clay has very similar properties to avocados. First much too hard and hardly usable, then so soft that it becomes critical again: The modelling clay sticks to all surfaces and the acrylic roller. We learnt that it works best when it is kneaded to a malleable consistency and then worked quickly - on melamine cutting boards.
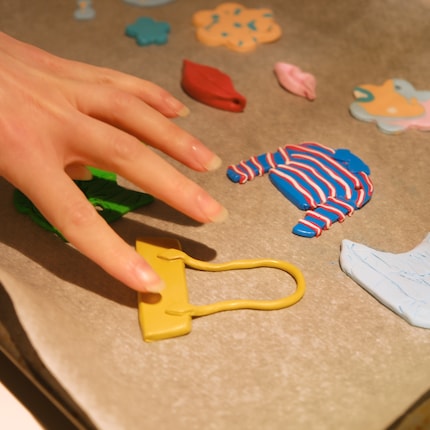
The charms can be easily removed from these and placed on an oven tray lined with baking paper. Using a wooden stick, we poke a hole in each piece of modelling clay to which the key rings or leather straps can be attached later. The colourful hodgepodge then goes into the oven at 110 degrees for 30 minutes.
Source: Natalie Hemengül
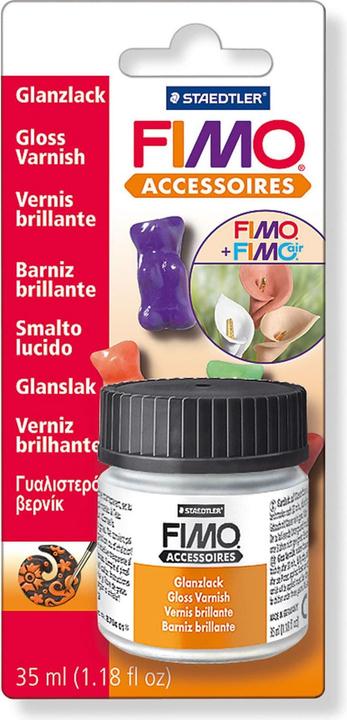
Baked and cooled, our DIY pendants are ready for the finishing touch: gloss varnish. This gives them a glossy finish in no time at all when applied with a conventional brush. One that unfortunately takes a long time to dry. The label on the little pot recommends 24 hours. All right then.
The next day, however, the charms are really finished - and we're pretty happy with our cute handiwork.
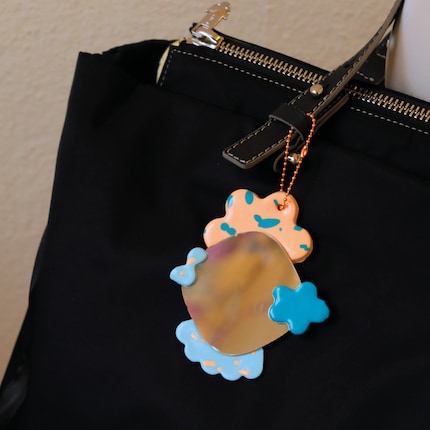
Source: Natalie Hemengül
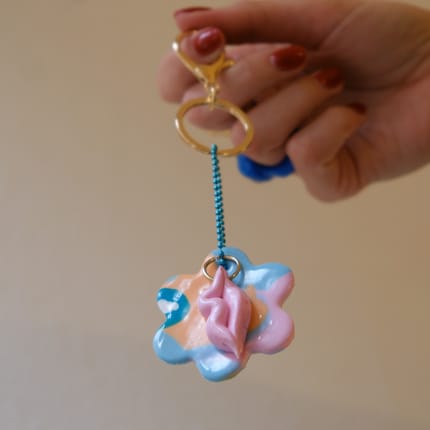
Source: Natalie Hemengül
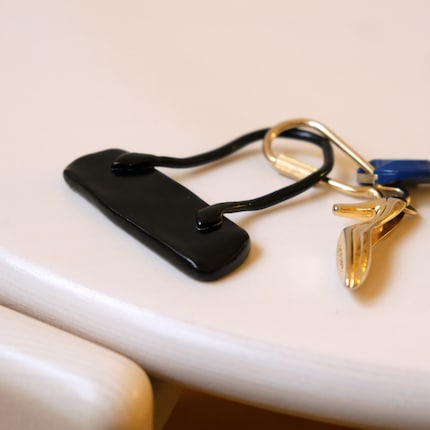
Source: Pia Seidel
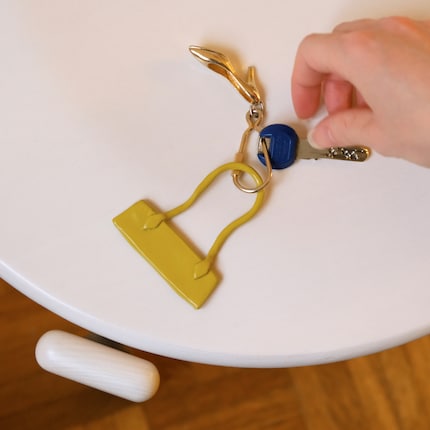
Source: Pia Seidel
Whether it's miniature designer pieces, freestyle motifs, Christmas or initials, your options are endless. The time you need to spend on crafting, on the other hand, is really manageable. And it's definitely worth it for such a cute gift idea.
Always in the mood for good hits, great trips and clinking drinks.
Practical solutions for everyday problems with technology, household hacks and much more.
Show all
